How To Build a Porn Tube Site in 6 Minutes with WordPress on DigitalOcean
Published May 11, 2025 by Chris
Creating an adult video tube site using WordPress with the Tube Ace plugin is ridiculously easy. The following video and article will explain how you can setup your very own tube site in only 6 minutes.
After you have purchased Tube Ace WordPress Plugin, you will receive a license key. We offer a free tube WordPress theme as well.
Step 1: Register a Domain Name
Use a domain registrar such as NameSilo, NameCheap or GoDaddy to register your domain for under $10 per year. Finding an available domain that you like is the most difficult step of this process.
Specify the NameServers to your web host.
DigitalOcean’s NameServers are:
ns1.digitalocean.com
ns2.digitalocean.com
ns3.digitalocean.com
Step 2: Setup Hosting
Create a hosting account at any web hosting provider which can support WordPress (99.9% of Linux based hosts can support WordPress). In this example, I’ll be using DigitalOcean (use our link for $100 hosting credit) to setup a VPS on their $10 per month plan. This is a great starting plan which can handle 50,000 embedded videos with no problem.
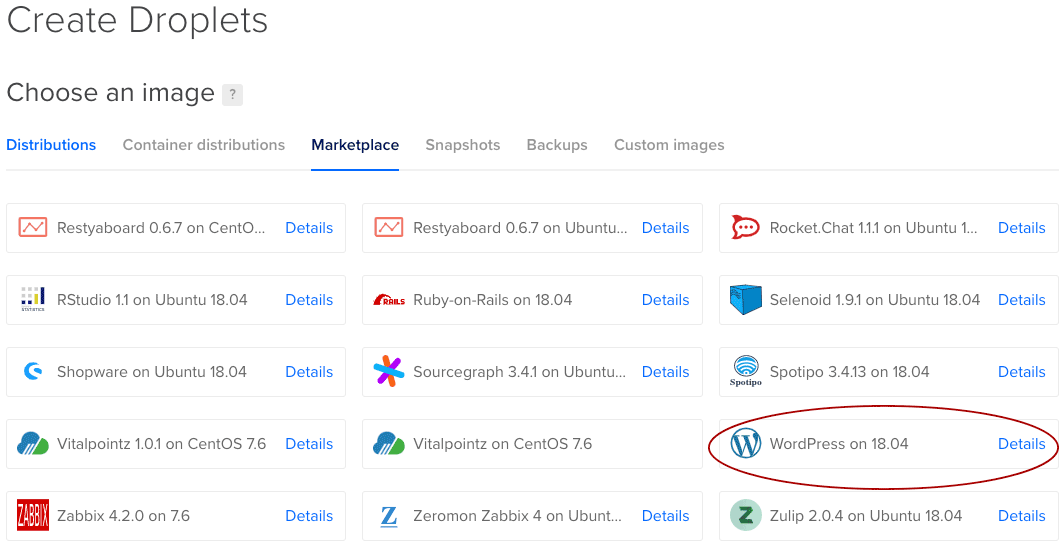
In the DigitalOcean header of your account, click the ‘Create’ button, then select ‘Droplets’ from the drop-down. Select the ‘Marketplace’ tab and select WordPress.
Now choose a droplet size. Again, the $10 per month account is fine to start building your new adult video tube site. Click the ‘Create’ button once you have selected your options.
The droplet is now being created which takes about 20 seconds to complete.
Notice your new droplet receives a dedicated IP address which is great for SEO traffic.
Step 3: Map Domain
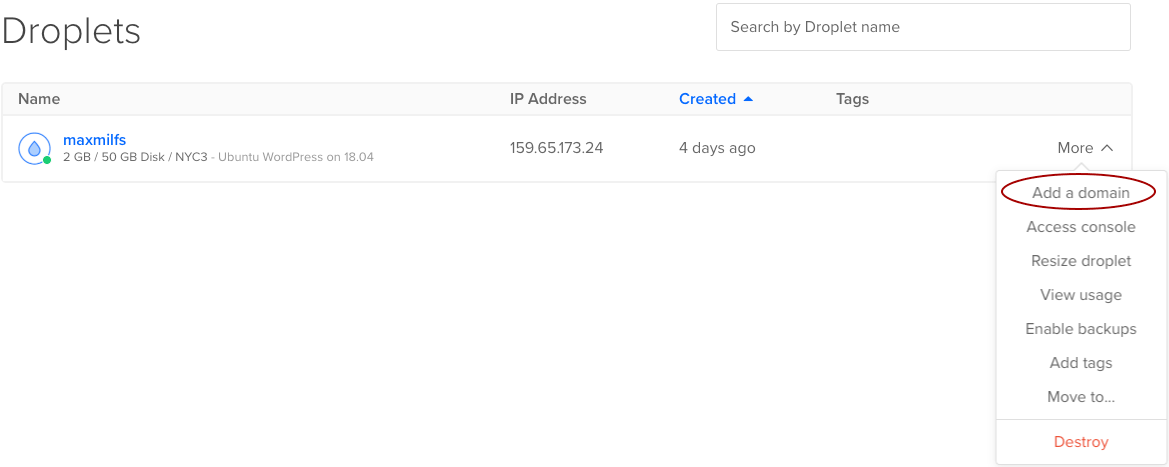
Now that we have a domain and a web hosting server instance (droplet) created, we need to map the domain to the instance so that our new site will load properly when typing in our domain in a web browser. On the Networking page, under ‘Add a domain’, enter the domain with the correct instance selected and click ‘Add Domain’. The nameservers and alias records will be created. If you want users to be able to access your site with www. before the domain, create a new A type record pointing to your droplet with www in the hostname field.
Step 4: Access Console & Setup SSL Certificate
When using the One-click WordPress App, you’ll need to login to your server via secure shell using terminal with a temporary password which is emailed to you when you create your droplet.
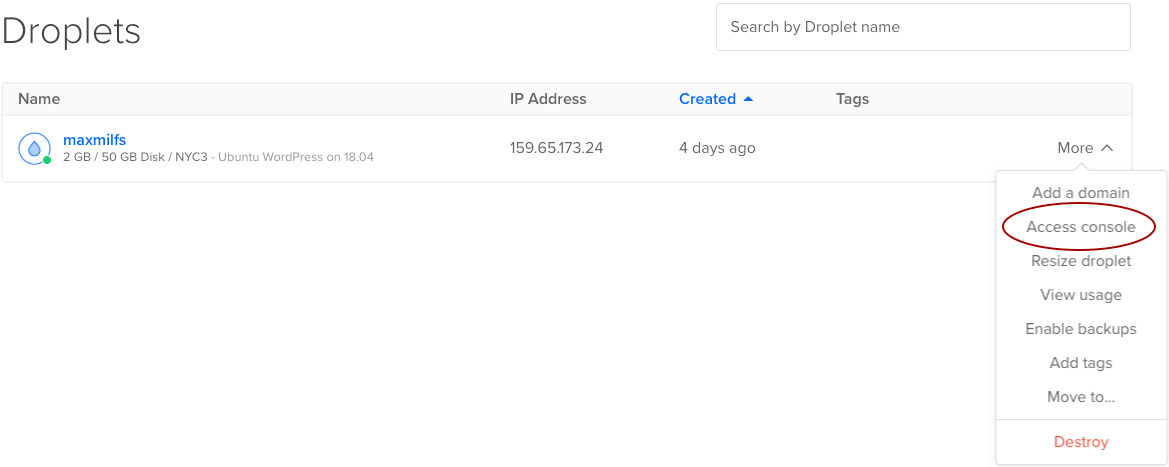
To login using SSH, use the web browser based Access Console by clicking on the drop down menu for the new droplet and type root as the username and enter your temporary password twice.
Once logged in, you can then create your permanent password.
Next, setup the SSL certificate provided by LetsEncrypt.org. Simply agree to the terms, enter an email address to receive updates, set the server to redirect to https, and wait for the new certificate to be created and issued.
Step 5: Setup WordPress
Now we can access our site using the domain name by entering the URL in a web browser. We need to finalize the WordPress setup by entering the Site Title, choosing a username and password, and entering an email address. We can now login to the admin area of our website.
Step 6: Install Tube Ace Plugin and Tube Ace Play Theme
Now to install the Tube Ace theme and plugin. From the WordPress admin menu, go to Appearance > Themes. Click the ‘Add New’ button, and then the ‘Upload Theme’ button. Then select the theme zip file from your computer and click ‘Install now’. Then click the activate link. You can use any WordPress theme with the Tube Ace plugin.
To install the plugin, go to the ‘Plugins’ section and click the ‘Add new button’. Click the ‘upload plugin’ button and select the plugin zip file from your computer and click ‘install now’. After the plugin installs, activate it. From the Admin menu click Plugins > Tube Ace License. Enter your license key, click ‘save changes’ and then ‘activate license’.
Step 7: Import Videos
Finally, we need to import videos to our brand new WordPress tube site. Choose an import tool such as Pornhub, Redtube, Tube8, YouPorn or another. Here I’ll be using the Pornhub API Import. Simply enter a keyword and click ‘Import All’. Videos are now imported into WordPress as regular posts, or you can have them imported as Video Post Type. Now refresh the browser on your new site and see how quickly new videos are added.